


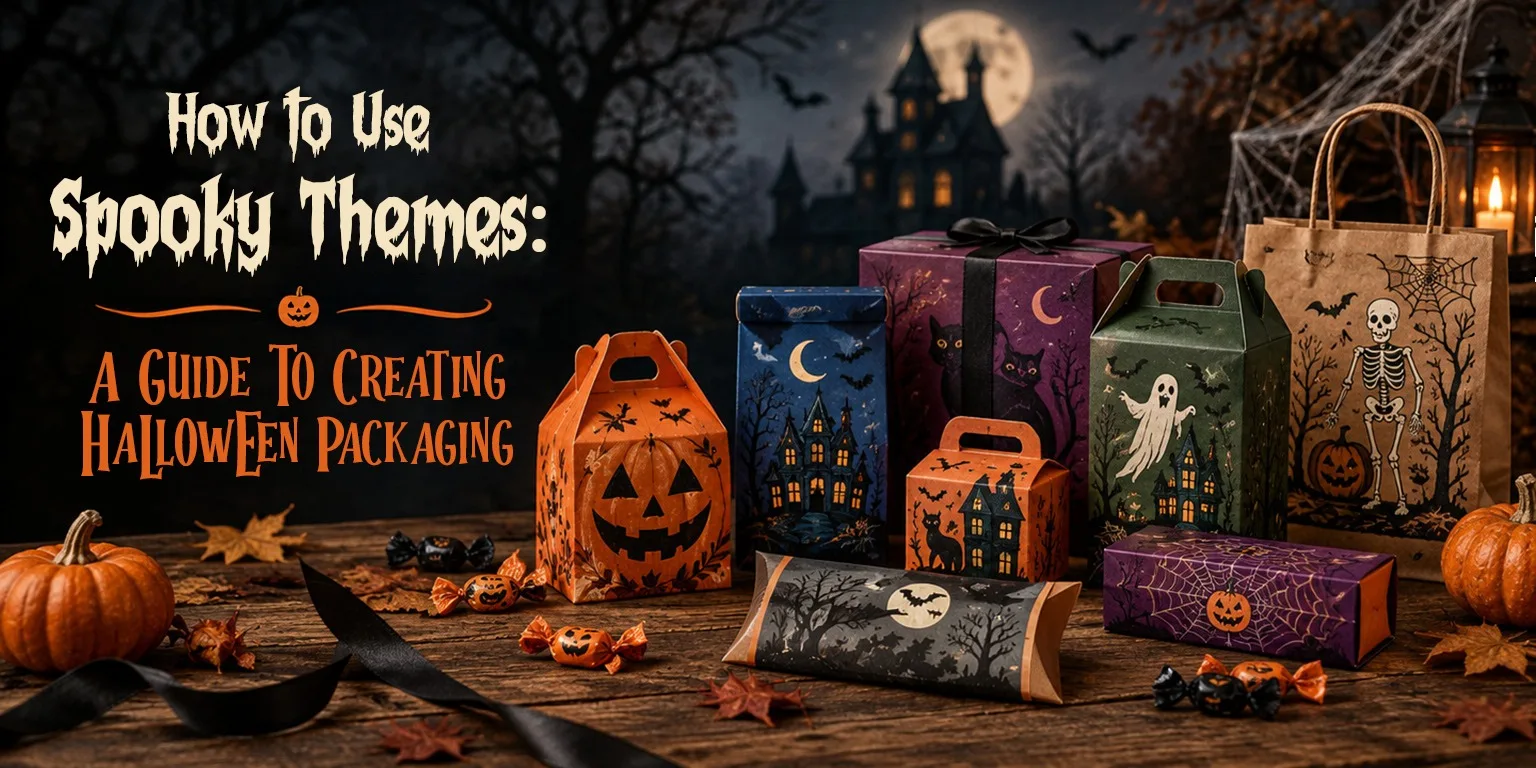
How to Use Spooky Themes: A Guide to Creating Halloween Packaging
Discover how premium packaging transforms your brand's perception and drives customer loyalty in today's competitive market.
- Key Takeaways!
- Halloween Packaging: Decide on the Main Halloween Theme Before Adding Spooky Symbols and Decorative Details
- Pair Traditional Halloween Colors With Complementary Shades for a Clear Packaging Design
- Select Packaging Shapes and Opening Styles to Support the Halloween Theme
- Combine Eerie Halloween Motifs with Metallic Foil and Embossed Text
- Carry the Festive Theme Into the Halloween Packaging Interior with Small Printed Surprises
- Apply Spooky Designs to Holographic Film, Custom Stickers, Cellophane Packaging, and Paper Shopping Bags
- Decide Where Halloween Elements Work Best Before Finalizing the Packaging Design
- Conclusion!
Halloween packaging gives brands a chance to change the look of a familiar product for a limited time without losing the connection to the original brand. This concept should not be based on stuffing all sorts of elements such as pumpkins, ghosts, bats, and spiderwebs into the packaging. Sometimes, one strong concept is better than all the decorations combined. Also, different products require different ways of implementing the Halloween concept. A printed chocolate box packaging, cosmetic package, candle packaging, or gift set may each need a different way of using Halloween details.
After choosing the primary theme, other aspects must come to complement it. The colors must conform to the theme chosen, while the fonts used should be readable. Other details, like die cuts, interior prints, embossing, and windows, complement the theme without dominating the package.
Well, this guide explains how each of these elements can be used to shape the final Halloween package. Let’s explore further!
Key Takeaways!
- Choose one clear Halloween theme with related spooky symbols.
- Use contrasting Halloween colors while keeping text readable.
- Match box styles and opening features to the product.
- Add foil stamping, embossing, debossing, or spot UV to selected details.
- Include interior prints, messages, cards, or themed tissue paper.
- Extend the theme to holographic film, stickers, cellophane bags, and paper bags.
- Review symbol placement across all packaging sides using a 3D mockup before production.
Halloween Packaging: Decide on the Main Halloween Theme Before Adding Spooky Symbols and Decorative Details
Spooky themes work best when the package has one recognizable Halloween idea rather than several unrelated symbols placed together. Start with a central subject that immediately connects the product to the holiday, then use a few smaller elements to support it. A pumpkin surrounded by falling leaves, a full moon with flying bats, or a single ghost among small stars can make the Halloween theme clear without filling every part of the package with decorations.
The chosen subject should also relate to what is inside. Candy and custom chocolate boxes can use pumpkins, ghosts, skulls, or bats, while luxury candle packaging with logo may suit moons, flames, or haunted-house silhouettes. A cosmetic box packaging can use smaller symbols such as stars, eyes, or spider webs around the main product information. This approach makes the Halloween reference easier to understand because the imagery has a clear connection with the product.
Using a small group of related symbols keeps the theme understandable. It also prevents the package from looking like every Halloween symbol has been added simply because it is associated with the holiday.
Pair Traditional Halloween Colors With Complementary Shades for a Clear Packaging Design
Black and orange are strongly linked with Halloween, but they are not the only combination available. Deep purple, burgundy, dark green, navy, cream, silver, and gold can also support Halloween packaging when used with purpose. Using a darker base with one or two contrasting shades can make the Halloween elements easier to notice without covering the package in competing tones.
The amount of each shade matters as much as the shades themselves. A dark base can cover most of the box and custom bag, while orange or purple can be reserved for important details. Cream or white can provide readable text against darker areas, while metallic gold or silver can be used in small amounts for selected details. This gives each part of the package a clear place instead of making every element equally strong.
Halloween Combination | Suitable Use |
Black + Orange | Traditional Halloween treats and gift boxes |
Deep Purple + Silver | Cosmetics, candles, and gift packaging |
Burgundy + Gold | Chocolate and premium gift boxes |
Dark Green + Cream | Natural products and Halloween food packaging |
Navy + Orange | Modern candy and seasonal gift packaging |
The final combination should also provide enough contrast between the printed information and its background. Product names, ingredients, directions, and other important details need to remain readable even when darker shades are used throughout the package.
For more ideas on using unexpected shades in seasonal designs, read “Beyond Orange and Black: Halloween Packaging Color Trends for Brands” to learn how different color combinations can shape Halloween packaging.
Select Packaging Shapes and Opening Styles to Support the Halloween Theme
A package that reveals the product through a cutout, unfolds in a unique and catchy way, or exposes a hidden message can make the holiday theme more noticeable without adding more printed symbols to the outside. This approach works particularly well for gifts, treats, and limited-edition products, where the opening itself can become part of the Halloween presentation.
Use Die-Cut Windows That Reveal Products Through Spooky Shapes
A cutout can turn the viewing area into part of the Halloween concept. Pumpkin faces, crescent moons, bats, and ghost shapes can frame the product while allowing customers to see what is inside. This format suits sweets, baked goods, soaps, candles, and other items where the contents can be safely displayed.
Add Spooky Designs to Box Sleeves for Seasonal Product Packaging
Custom packaging sleeves add an outer layer that can carry the holiday graphics without permanently changing the inner box. This works well for limited-edition products because the sleeve can be removed after the season while the box underneath remains suitable for regular use.
Make Box Opening Styles Part of the Halloween Gift Experience
The way a box opens can support a short Halloween message or hidden detail. A magnetic closure box may reveal a message beneath the top, while a lift-off cover can expose an inside pattern as the customer opens the gift. Tuck flaps can also hold small printed messages on their inner surfaces.
Choose Unusual Box Shapes for Special Treats and Seasonal Gifts
Pillow boxes and other unusual forms can make smaller items feel more suited to Halloween without relying on large printed graphics. These formats are useful for party favors, chocolates, candies, sample products, and small gifts where the shape itself adds a recognizable holiday reference.
Combine Eerie Halloween Motifs with Metallic Foil and Embossed Text
Spooky themes do not have to rely on the same familiar Halloween symbols throughout the package. Finishing techniques can give less commonly used details a stronger presence, especially when the design includes haunted houses, ravens, potion bottles, cemetery gates, skeleton hands, eerie eyes, or dripping candle wax.
- Metallic foil can work well on thin details such as a haunted-house window, raven silhouette, old key, or decorative gate. Silver foiling can give a colder, darker effect, while copper or gold foil can suit antique-inspired Halloween designs.
- Embossing and debossing can add depth to outlines and small motifs. A raised skeleton hand, recessed doorway, or embossed keyhole can make these details more noticeable without increasing their printed size.
- Spot UV coating can add a sudden glossy change to selected parts of the design. Eerie eyes, cracks, liquid inside a potion bottle, or small drops of candle wax can use this contrast effectively.
- Matte and soft-touch lamination can provide a quieter outer finish when the design already contains several detailed elements. This allows selected reflective or raised details to get more attention without adding another graphic.
Carry the Festive Theme Into the Halloween Packaging Interior with Small Printed Surprises
The inside of a Halloween bag or box can hold a few extra elements that do not need to appear on the outside. A printed lining, short message, or small pattern can appear after the lid is lifted, giving the package another part to notice. This works particularly well for gift boxes, chocolates, candles, cosmetics, and limited-edition products.
A short message can be printed beneath the lid or beside the product. “Trick or Treat,” “Open If You Dare,” and similar phrases suit playful packaging, while a brief line about the product can work better for a more specific Halloween style. The wording should remain short enough to avoid taking attention away from the product.
The inner walls can also carry a pattern that differs from the outside. Instead of repeating the same pumpkins, bats, or ghosts, the interior could feature old keys, candle flames, small cracks, ravens, or a simple dark pattern. This keeps the inside related to Halloween without copying the front of the box.
Other additions can include:
- Printed product cards: Include a greeting, product information, or a short Halloween message.
- Paper inserts: Hold smaller products and provide another place for a printed element.
- QR cards: Link to a Halloween promotion, video, or other digital content.
- Printed tissue paper: Wrap the product in a simple Halloween pattern before it is placed inside the box.
Apply Spooky Designs to Holographic Film, Custom Stickers, Cellophane Packaging, and Paper Shopping Bags
Spooky packaging can extend to the smallest parts of a Halloween order, from the seal on a gift to the bag holding a handful of sweets. Holographic materials, custom stickers, and different bag styles each offer their own way to carry the theme, especially for party favors, bakery purchases, retail gifts, and seasonal product bundles.
Holographic Film for Supernatural Themes
Holographic film suits Halloween concepts inspired by fortune-telling, enchanted objects, and mysterious spells. Its shifting reflections can resemble the shine of a magic mirror or the surface of a fictional enchanted object. Silver holographic accents suit darker themes, while rainbow effects work well for playful Halloween collections. The material can appear on labels, sleeves, or selected parts of a box without covering the entire package.
Custom Stickers for Halloween Boxes and Treats
Custom stickers offer plenty of room for unusual Halloween ideas. Rather than relying on standard pumpkin or ghost shapes, take inspiration from objects associated with spooky settings:
- Potion labels with fictional ingredients and old apothecary lettering.
- Wax-seal designs for closing tissue paper or wrapping gifts.
- Haunted-house entry tickets for party favors and themed giveaways.
Die-cut outlines can follow the shape of these designs, while smaller stickers can carry a brand name or seal a bag.
Cellophane Bags for Yummy Sweets
Transparent cellophane bags suit individually wrapped treats because customers can see the contents before opening them. Small bags can hold chocolates, gummies, cookies, or party favors, making them useful for trick-or-treat giveaways and Halloween gatherings.
A few simple additions can make the package more special:
- Black ribbon for a darker theme.
- Orange string for traditional Halloween treats.
- A printed tag with a short greeting or recipient's name.
For edible products, make sure the bag material is suitable for the intended food contact.
Paper Bags Inspired by Spooky Shops
Imagine a purchase from a fictional witch's shop or a parcel from an old haunted bookstore. Custom paper bags can carry these concepts through printed shop names, vintage-style labels, or receipt-inspired designs. A name such as The Midnight Apothecary can support a potion theme, while The Haunted Bookshop suits a literary Halloween concept.
Black twisted-paper handles can complement darker designs, while orange or purple handles suit more playful themes. For gift purchases, a small matching tag can complement the bag without repeating the entire packaging design.
Holographic film, stickers, cellophane bags, and paper bags each offer a different way to extend Halloween packaging. Their use depends on the product and the type of spooky theme being made.
Decide Where Halloween Elements Work Best Before Finalizing the Packaging Design
The placement of Halloween elements can change how the package is understood as a whole. Rather than treating the front, sides, top, and back as completely separate areas, related details can be positioned so they continue naturally around the packaging. A trail of bats can move from the front toward a side panel, while stars or small leaves can extend across the top. This gives the package a connected Halloween theme without repeating the same design on every side.
Different areas can also have different levels of detail. The front may carry the main Halloween image and product name, while the sides use smaller symbols or patterns. The top can carry a short seasonal message, and the back can continue a simple border around the product information. This makes each part of the package useful without forcing the same treatment onto every face.
Three Ways to Plan the Placement
- Centered: Place the main Halloween element in the middle and keep supporting details around it.
- Corner-based: Position symbols near corners or edges, leaving the central area for product information.
- Continuous: Let a pattern, border, or group of small elements move from one side of the box to another.
Before production, a 3D mockup can help show how these elements will appear across the actual packaging structure. You can ask the packaging manufacturer for a mockup to review the placement from different sides and make adjustments before the final packaging is produced.
Conclusion!
A memorable Halloween package can take many forms, from a box with a ghost-shaped window to a gift wrapped in themed tissue paper and sealed with a custom sticker. The key is to make each element suit the product rather than adding spooky details without a clear reason. Color combinations, unusual box shapes, metallic accents, interior messages, holographic film, and themed bags all offer different ways to approach Halloween packaging. When these elements work together, the final design can reflect the spirit of Halloween while keeping the product information clear, and the packaging meets the product’s needs.